Creating a Two Node Mysql Cluster On Ubuntu With DRBD Part 2
This blog is a follow on from a blog post I wrote ages ago and have eventually got round to finishing it off In this part of the process we will create the disks and setup the DRBD devices First we need to connect to the Virtual Machines from a terminal session as it makes life much easier and quicker when you connect remotely. You will need to make sure that your servers have static IP addresses. For this document I will be using the following IP addresses for my servers.
1drbdnode1 = 172.16.71.139
2drbdnode2 = 172.16.71.140
3drbdmstr = 172.16.71.141 (clustered IP address)
4Subnet Mask = 255.255.255.0
5Gateway = 172.16.71.1
6DNS Servers = 8.8.8.8 and 4.4.4.4
So to set the IP address as fixed you need to do the following. Connect to the console of drbdnode1 and login now we need to edit the file that contains the IP address of the network card enter the following command and press return
1sudo nano /etc/network/interfaces
enter the password for the user you are logged in as You should see the following screen 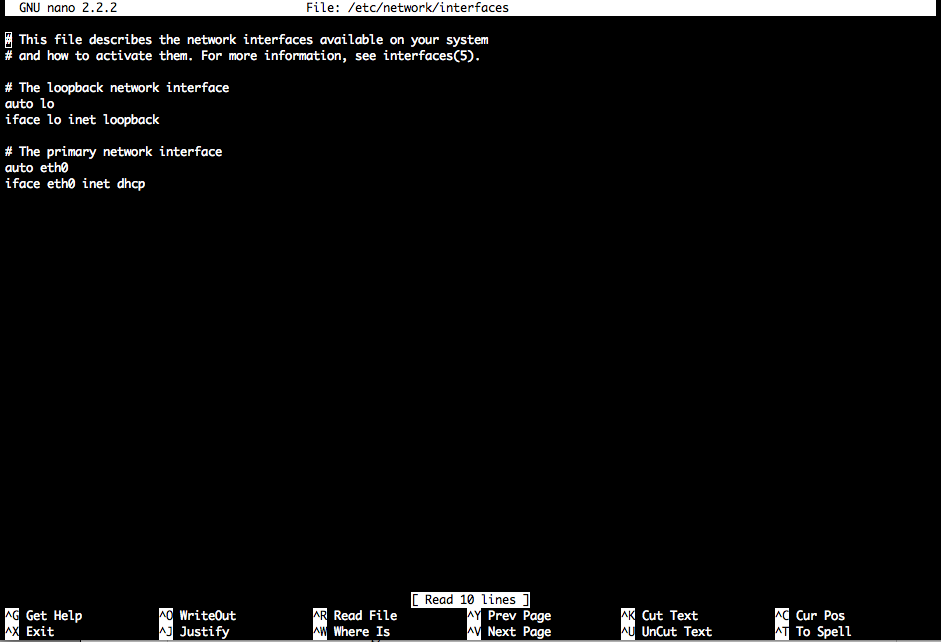
1auto eth0
2iface eth0 inet static
3address 172.16.71.139
4netmask 255.255.255.0
5network 172.16.71.0
6broadcast 172.16.71.255
7gateway 172.16.71.1
It should end up looking like this 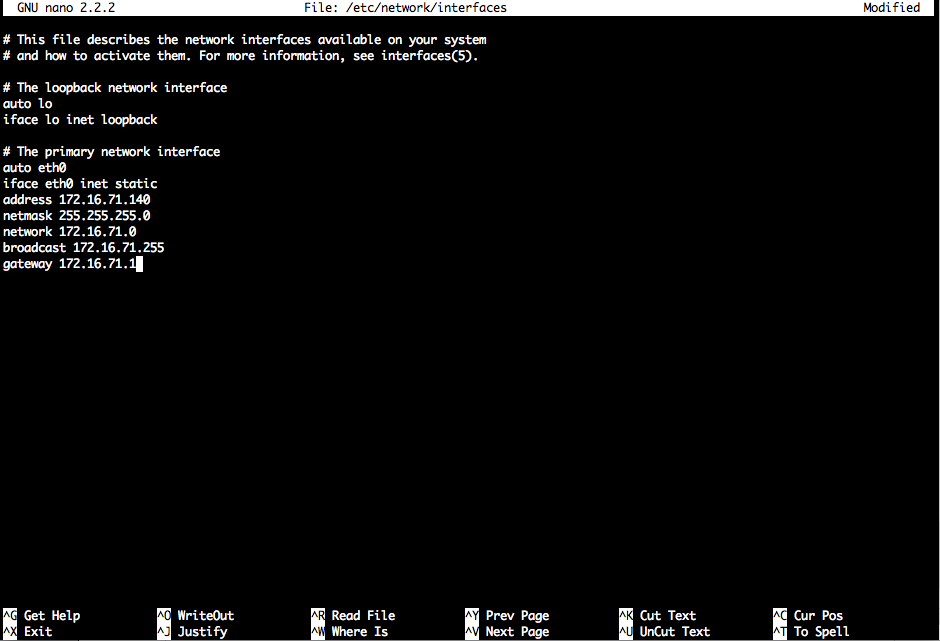
1sudo /etc/init.d/networking restart
Do the same for drbdnode2 Now that we have given each server a static Ip address we can connect via ssh to the server to do the admin remotely. To do this you need to have a machine that has an ssh client installed most linux and osx clients have one already installed if you are on windows look for putty and use that. So open a terminal on your machine and the in the following
1ssh [email protected] and press enter.
You need to substitute the username you created on your server when setting it up for the word cluster in the above command. You will be prompted to accept a key for the server. Type yes and press enter. Now enter the password for the user and press enter. You should see a screen like this 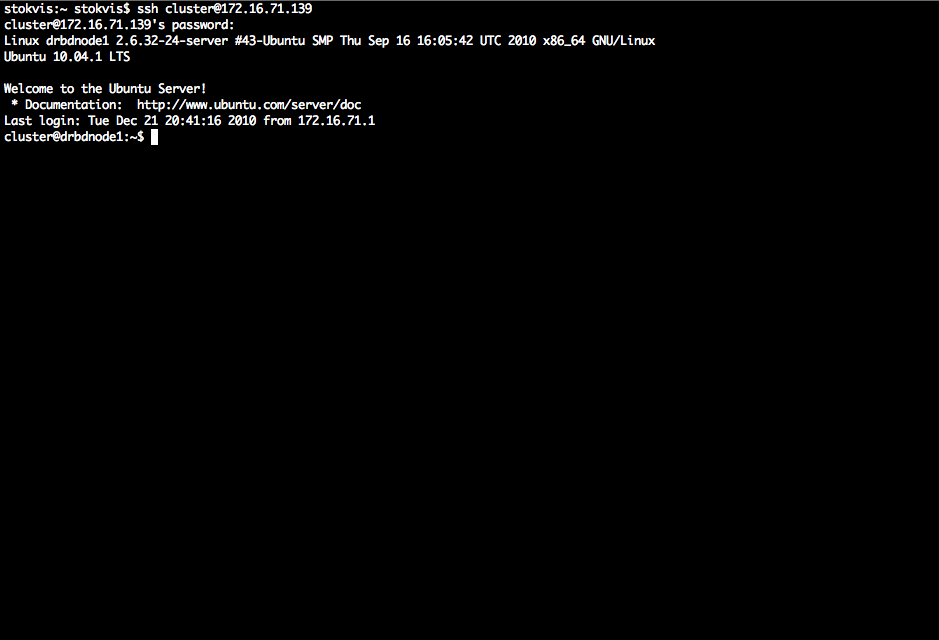
1sudo nano /etc/hosts
and add a record for each server it should look something like this 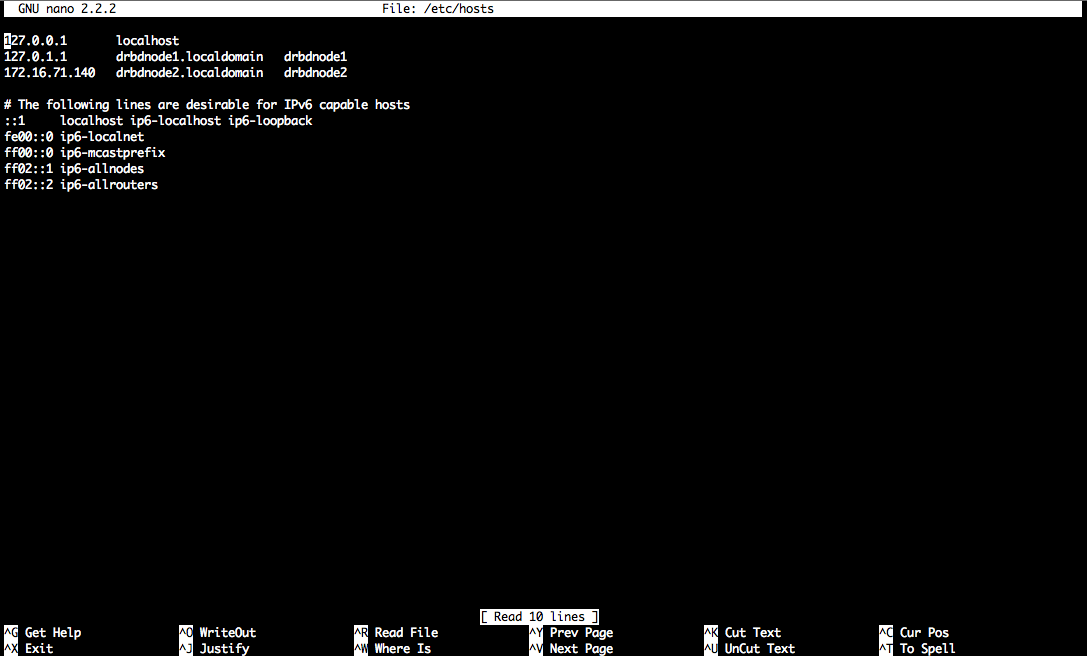
1apt-get install heartbeat drbd8-utils
and press enter you should have a screen like this 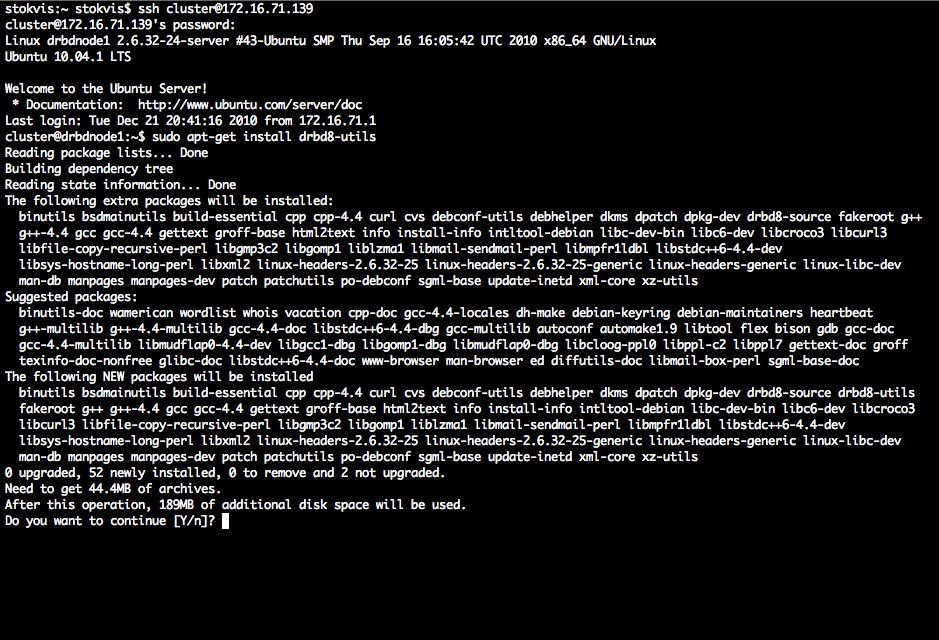
1sudo fdisk -l
to see which disks have not been partitioned your screen should look like this 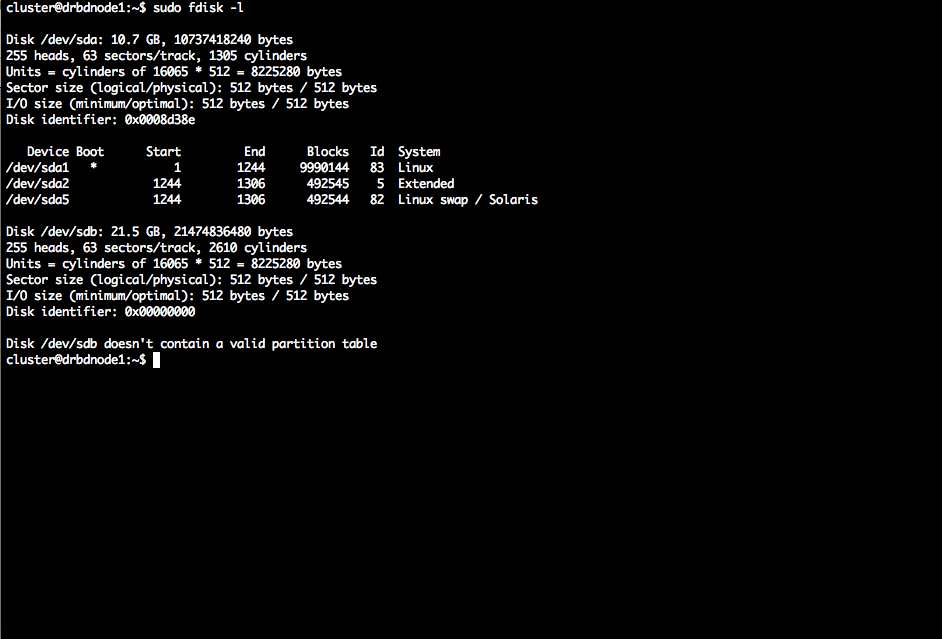
1sudo fdisk /dev/sdb
2n (to create a new partition)
3p (to select a primary partition)
41 (for the first partition)
5Enter (to select the start cylinder)
6and enter (to select the end cylinder)
7w (to write the changes)
the screen should look like this 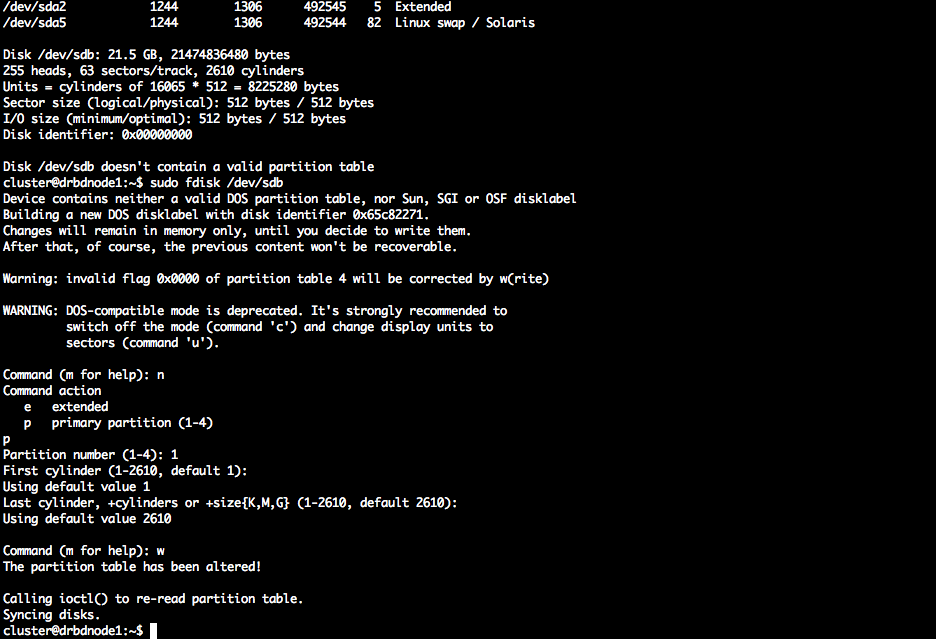
1sudo nano /etc/drbd.d/clusterdisk.res
Enter the password for your user and edit the file Copy and paste the following code into your terminal screen and then change the details to match your server names and ip addresses
 1resource clusterdisk {
 2  # name of resources
 3  protocol C;
 4  on drbdnode1 { # first server hostname
 5  device /dev/drbd0; # Name of DRBD device
 6  disk /dev/sdb1; # Partition to use, which was created using fdisk
 7  address 172.16.71.139:7788; # IP addres and port number used by drbd
 8  meta-disk internal; # where to store metadata meta-data
 9}
10
11on drbdnode2
12{
13  # second server hostname
14  device /dev/drbd0;
15  disk /dev/sdb1;
16  address 172.16.71.140:7788;
17  meta-disk internal;
18}
19disk {
20  on-io-error detach;
21}
22net {
23  max-buffers 2048;
24  ko-count 4;
25}
26syncer {
27  rate 10M;
28  al-extents 257;
29}
30startup {
31  wfc-timeout 0;
32  degr-wfc-timeout 120; # 2 minutos.
33}
34
35}
The screen should look similar to this 
1sudo drbdadm create-md clusterdisk
After running this command you should see a screen similar to this 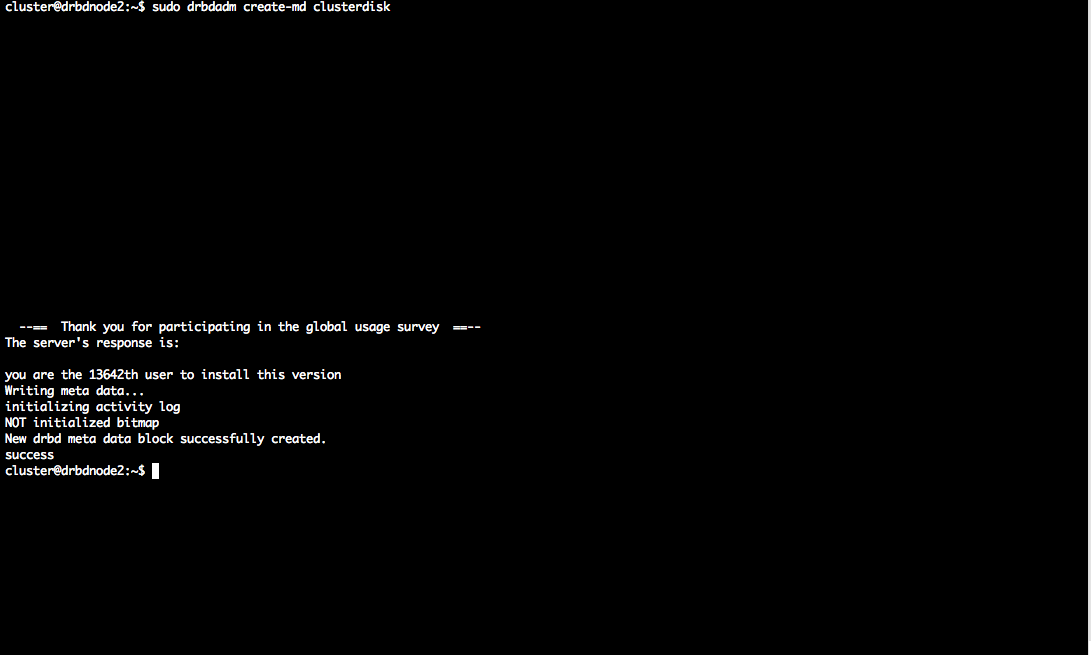
1drbdadm -- --overwrite-data-of-peer primary all
this will activate it as the primary drbd node to see if this has worked you can run the following command
1sudo drbdadm status
the result should look like this on drbdnode1 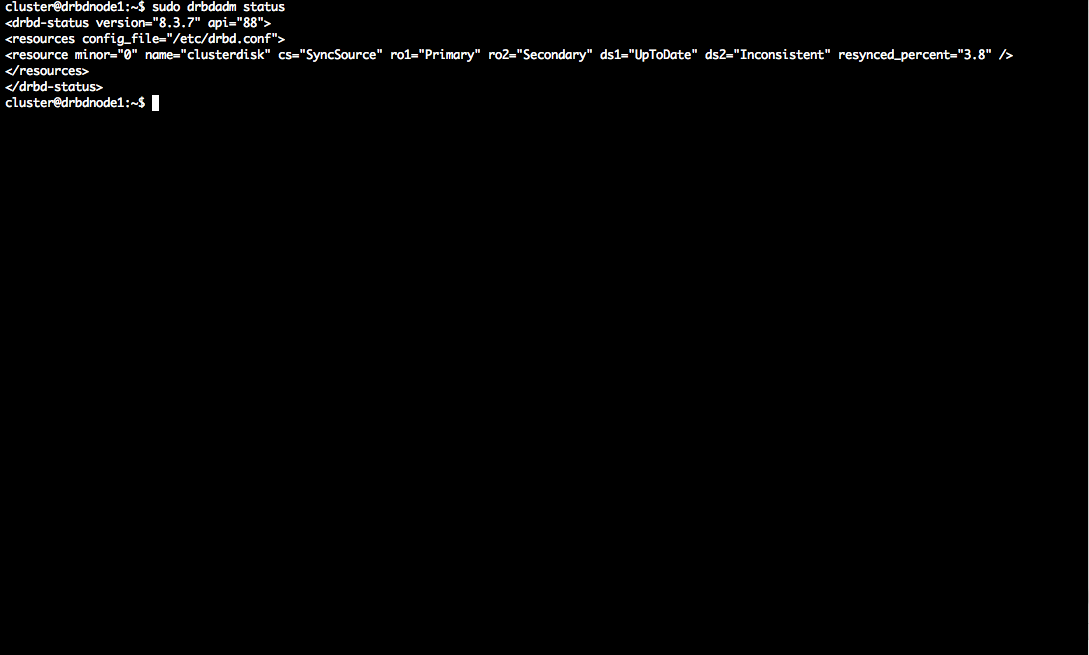

1sudo mkfs.ext4 /dev/drbd0
this will create an ext4 partition on the drbd file system. Which will sync across to drbdnode2
Configuring heartbeat resource
Now we need to setup the Mysql resource in the heartbeat configuration firstly we need to create a file called authkeys. The file should be created in /etc/ha.d directory. You can do this with the following command
1nano /etc/ha.d/authkeys
in this file you need to add the following text.
1auth 3
2
33 md5 [SECRETWORD]
Replace [SECRETWORD] with a key you have generated. This file needs to be on both servers in the /etc/ha.d directory. After you have created the file you need to change the permissions on the file to make it more secure. This can be done with the following command
1chmod 600 /etc/ha.d/authkeys
do this on both servers Now we need to create the /etc/ha.d/ha.cf file to store the cluster config. You can do this with the following command
1nano /etc/ha.d/ha.cf
copy and paste this code into the file
 1logfile /var/log/ha-log
 2
 3keepalive 2
 4
 5deadtime 30
 6
 7udpport 695
 8
 9bcast eth0
10auto\_failback off
11stonith\_host drbdnode1 meatware drbdnode2
12stonith\_host drbdnode2 meatware drbdnode1
13node drbdnode1 drbdnode2
do the same for both servers next is the haresources file. Create the file here
1nano /etc/ha.d/haresources
paste this code in there
1dhcp-1 IPaddr::172.16.71.141 /24/eth0 drbddisk::clusterdisk Filesystem::/dev/drbd0::/var/lib/mysql::ext4 mysql
Your cluster is now ready to role. All you now need to do is test the cluster which I will tell you how to do in a future blog post Let me know how you get on